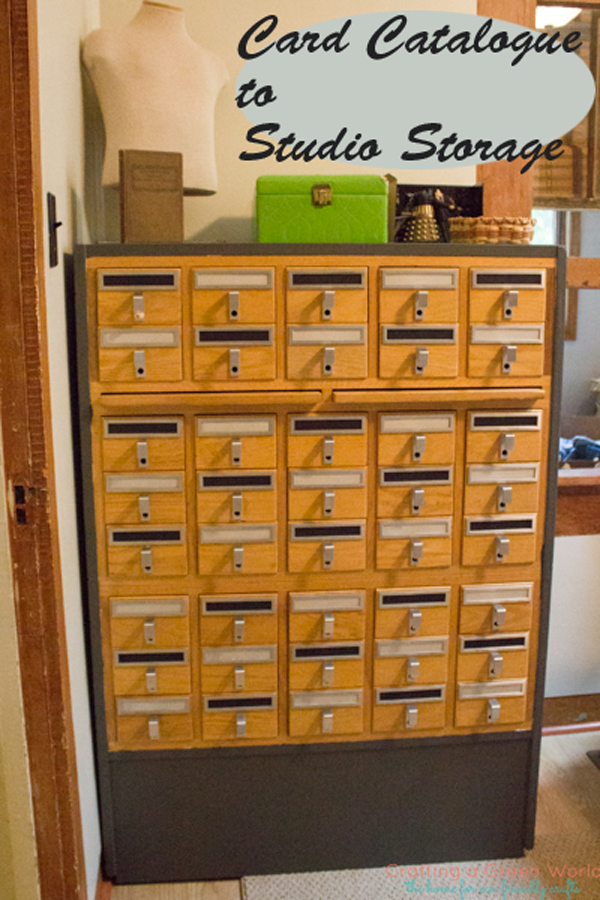
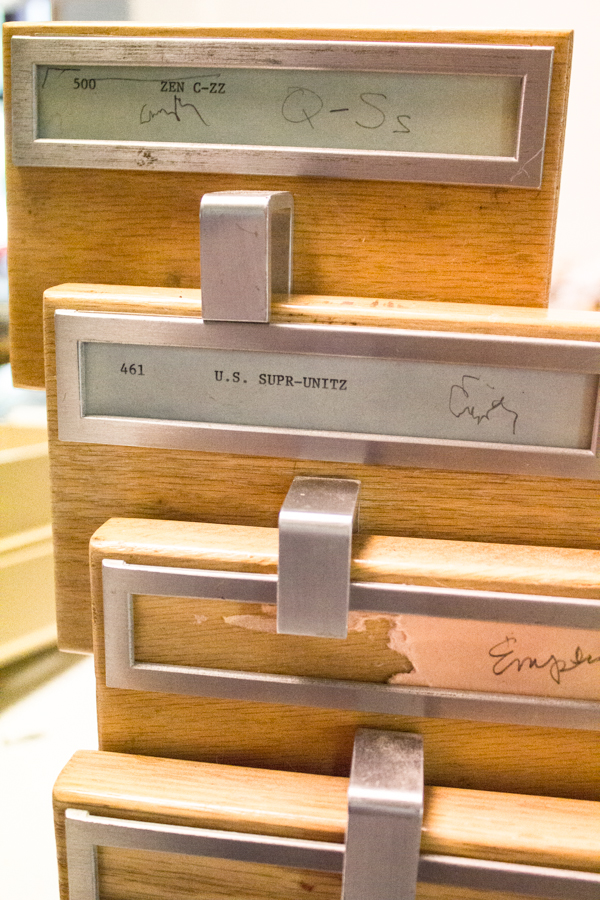
I LOVED my antique card catalogue from the second that I saw it in my local university’s surplus store, but I have to admit that it did look pretty janky. Someone had half torn out most of the awesome labels, and scrawled messily across the ones that they didn’t tear–
–there were scratches and scuffs across one side, where it had clearly been transported with little care, and worst of all, whoever first purchased this card catalogue had chosen a model with a white laminate exterior around the solid wood catalogue drawers–yuck!
Prep and prime. I removed all the drawers, then taped off all of the natural wood areas. I filled the deep gouges in the laminate side (on another day, I’ll show you how you can also sometimes remove that gross laminate) with wood putty, then primed the piece with two coats of my favorite primer, Zinsser Bulls Eye Zero (I’m also going to blather on about this primer even more on a separate occasion–I’ve used a LOT of it in the last month!). The kid and the chickens helped:
Paint. I love the color of paint that I chose (chalkboard grey), but I’m not in love with the brand, Dutch Boy Refresh, which I let the dude at the paint counter choose for me. I wanted something much glossier than I got, and clearly the paint counter dude confused zero VOC with “zero smell,” because although this paint is okay from an environmental standpoint, it’s not what I would have chosen if I’d spent the 45 minutes poring over all the paint choices as I should have. Lesson learned, sigh.
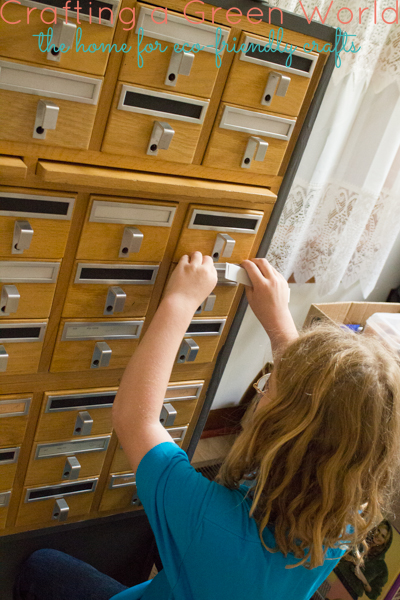
Pick new labels. My older kiddo helped me cut out and put new labels into all the card catalogue drawers, and we cut some extras to put behind the labels so that it won’t be a huge fuss to change them out:
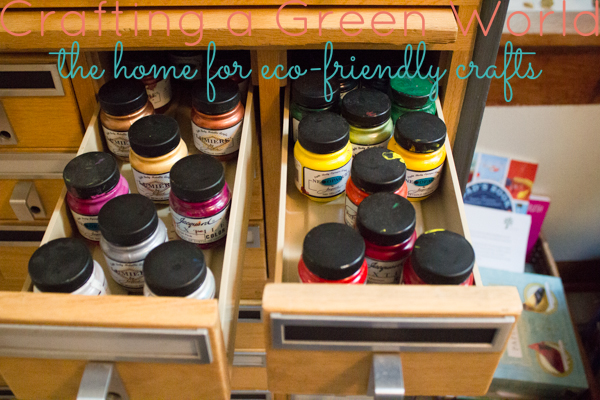
We used plain cardstock, although brown paper bags, plain notebook paper, and pretty much any other kind of stash or recycled paper would look really cool. 4. Fill with stuff! The card catalogue actually handles a LOT of the storage in my studio, which I share with my two kids. I’ve got a couple of photo drawers up top, and I also let the kids have a few drawers for their own keepsakes–a big storage unit full of little drawers is just too tempting to not keep cute stuff in! Mostly, however, we store arts and crafts supplies in our card catalogue. We’ve got drawers of loose markers, crayons, and colored pencils, and several drawers of loose buttons, all organized by color. I store our fabric paint in two drawers (one for rainbow colors and one for non-rainbow):
I store spools of thread the same way (serger cones don’t fit, so they’re stored in a wall unit):
There are another couple of drawers just for Rainbow Loom stuff, a drawer of totally unorganized loose beads, a drawer with random small found objects, a drawer of glues, another drawer of tapes, a drawer just for acorns and pinecones and interesting rocks, a drawer of stickers, and a bunch BUNCH more drawers, empty and full. I like that most of our small storage doesn’t have to live in endless plastic storage bins, and I really like that with everything so accessible, the kids will often rummage and play and find new things to create with their discoveries. The drawers are easily removed from the card catalogue, so everything is portable, and they’re shallow enough that the contents can’t get too buried. And it helps me keep my dream alive that one day I could very well write out an index card for every book in my home library, put it in my card catalogue, and start the old-school lending library that I’ve always wanted.