What You Will Need:
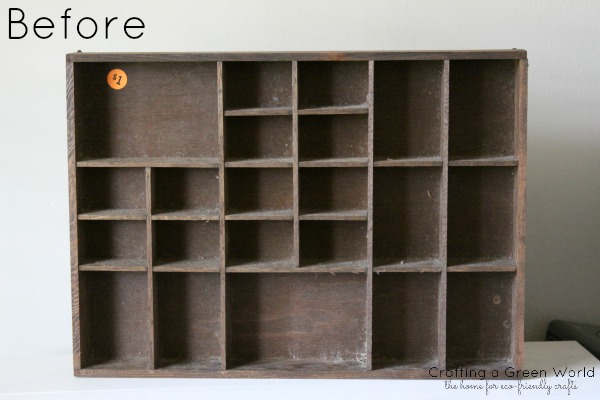
A wooden display box or tray that has small compartments. This is what my box looked like when I bought it:
Paint. If you can, use low VOC spray paint — it’s better for you and the environment!
Sand paper
A rag and a little bit of water
(Optional) Spray Polycrylic
How To Do It:
- Lightly sand your wooden display box.
- Wipe down the surface of your box with a damp rag to remove the dust.
- Paint it! I spray painted several light coats to get the best results. One heavy coat can give you drips in your paint job.
- (Optional) Once my spray paint was dry, I finished it with a spray Polycrylic. I use Polycrylic on nearly all of my paitning projects because it seals and protects my paint job (which will make it last longer). It is a water based sealer, but I’m sure it’s not the greenest craft supply.
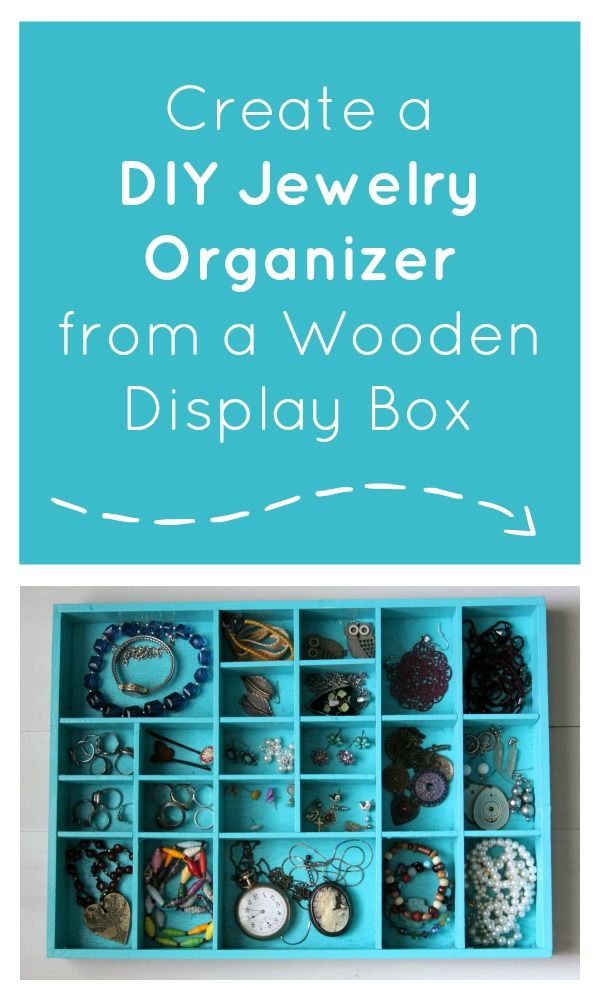
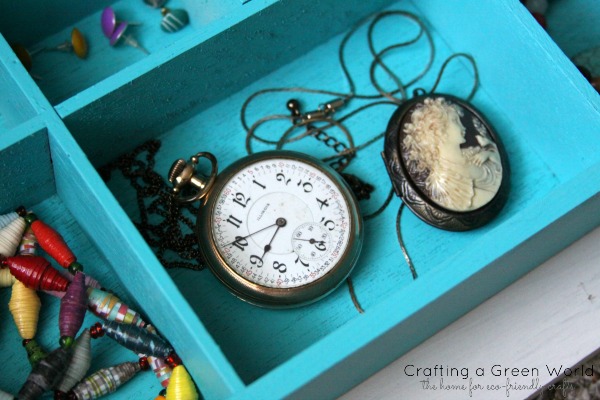
- Add your jewelry! I’ve stored all of my DIY recycled jewelry like my upcycled watch bracelet, wine cork earrings, and vintage button brooch.
I love how the bright color makes all of my jewelry pop, which helps me quickly find the jewelry I want to wear. The color just makes me happy, too! What color would you paint your DIY jewelry organizer?