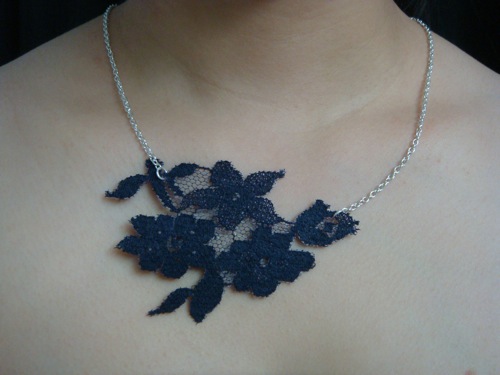
A Crochet Lace Necklace. I’m sure you’ve seen these chic vintage-y crochet necklaces everywhere. It is the vintage-come-modern look and it goes with everything. You can dress it up or down. All you need to make this dainty necklace are a little bit of jewelry making skill, (using pliers with jump rings,) an old lace scrap, and a necklace chain, preferably from a thrifted necklace. Let’s get glammed! Supplies:
Lace Natural Glue/Stiffening Method of your choice – corn starch is translucent so it’s good for colored lace like this one. Necklace Chain Pliers Plastic Tray or a plate for drying
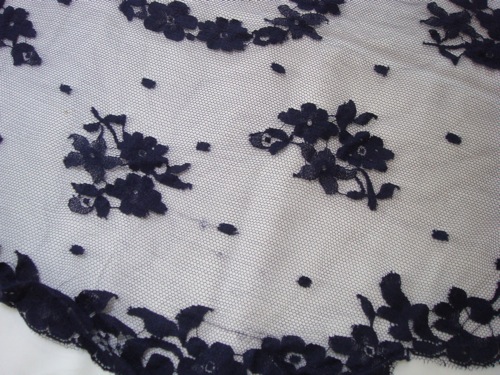
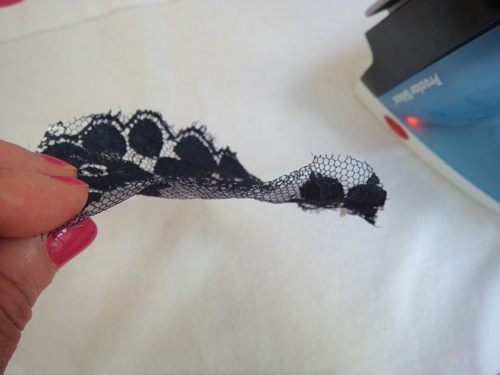
Instruction: Cut out an ornate pattern from your lace pile with a pair of small scissors with sharp points. You’ll need the sharp points for cutting around the intricate corners and curves.
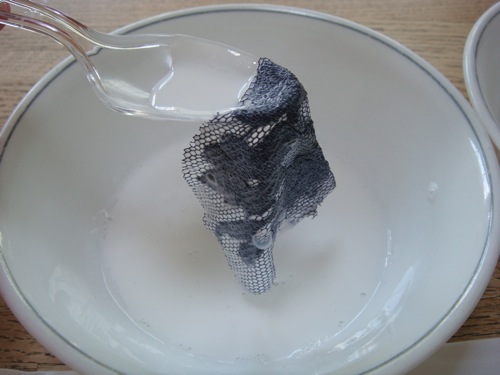
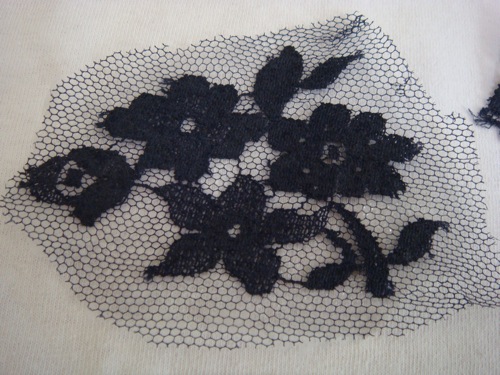
You can use any pattern but I chose the floral bouquet for my necklace because there are holes on either side that I can use to hook the jump rings for the chain. Next » Soak the lace in the stiffening solution of your choice. Squeeze out the excess liquid using your index finger and thumb. This one is in the Elmer’s Glue solution and as you can see, it turns the lace color a little white at first but it dries clear so don’t be alarmed. Next » Lay your lace flat on a surface that won’t stick to the lace, like a plastic lid or a plate. I used a plastic lid that I was about to recycle. Once it’s flat, dab the excess glue from holes and in between the mesh with a small rag. If you don’t, you’ll just have one piece of fabric without the intricate lace design when it dries. That wouldn’t be cool. Next » Let it dry over night. The lace might curl depending on which stiffening solution you use. Corn and flour starch tend to curl a little more, but don’t worry if it curls because you can steam iron to flatten it.
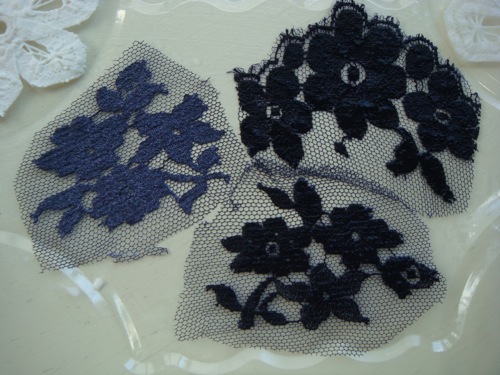
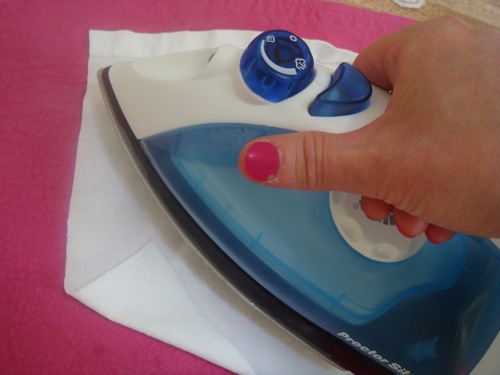
Cover the lace with a light cotton fabric and steam iron over it quickly. If the lace gets stuck to the fabric, peel if off right away, gently. Next » Lay the ironed lace flat and adjust the shape a little more. Then, cut the edges off with the sharp pointed scissors around the perimeter of the pattern you want. If there are thin threaded lines, like the one above, you can decide to leave which ones intact without compromising the sturdiness. Add the chains on both sides and then, ta dah!
I used whatever chain I had in my drawer for this tutorial so it’s a clumsier than I’d like, but you can imagine all kinds of beads you can add to embellish your necklace. What’s great is that the lace this came from has more patterns to make matching earrings and bracelets. Oh, the possibilities.