What You Will Need:
- Mason jar lids
- Chalkboard paint
- Low VOC spray paint
- Hot glue/hot glue gun
- Chalk
- Sand paper
How To Do It:
Lightly sand the mason jar lid with your sand paper. This will help the paint adhere to the kid.
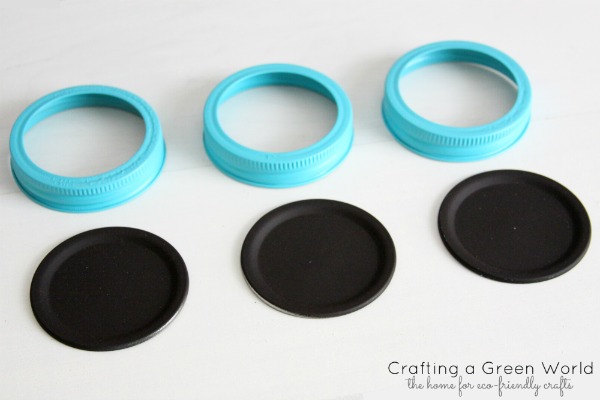
Spray paint the ring of your mason jar lid. Remember, multiple light coats will give you the best results.
Chalkboard paint the inner portion of your mason jar lid. Most chalkboard paints require that you wait 24 hours for the paint to cure before writing on the chalkboard, so make sure you follow the directions on your specific chalkboard paint.
In order for the paint to cure correctly, cover the entire chalkboard surface with your chalk. Erase it, and then your surface is ready to go!
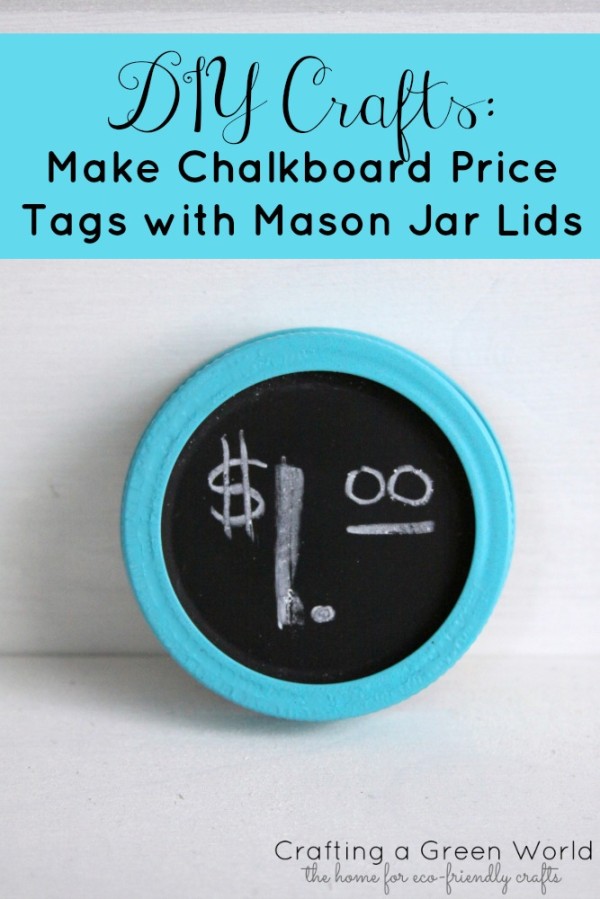
Hot glue the chalk paint portion to the ring of the lid. Wasn’t that super easy? You can punch a hole in the lid to hang your tag on items, add a magnet to it like I did the mini magnet chalkboards I created at Feelgood Style, or you can simply place it on the table. I’ve also thought about propping the lids up with an easel. I love the pop of color and the texture of the ring, too!
What do you think? Where would you use these adorable price tags or labels?
Looking for more craft booth ideas? Check these out:
DIY Lantern Jewelry Display Bubble Gum Machine Button Display Upcycle a Shutter into an Unique Display Promote Your Website Through Picture Frames