Measure the area where you will place your letters. This will help you determine the size of the letters. Like I mentioned before, I wanted to put the letters above my kitchen cabinets, so I measured above the cabinets to make sure the letters would fit.
Draw Y, U, and M on your cardboard (or E, A, and T if you’d rather do eat). Then, cut them out.
Optional step: If you want to make your letters thicker than the previous recycled letters I made, you can easily create more “layers.” Simply cut out each letter 3 or 4 times each. Then, glue the 3 or 4 layers together with a hot glue gun. Make sure you don’t go overboard on the hot glue — if you get too clumpy, it might peek through. Once all of the layers have dried, trim any wonky areas.
Spray paint the letters!
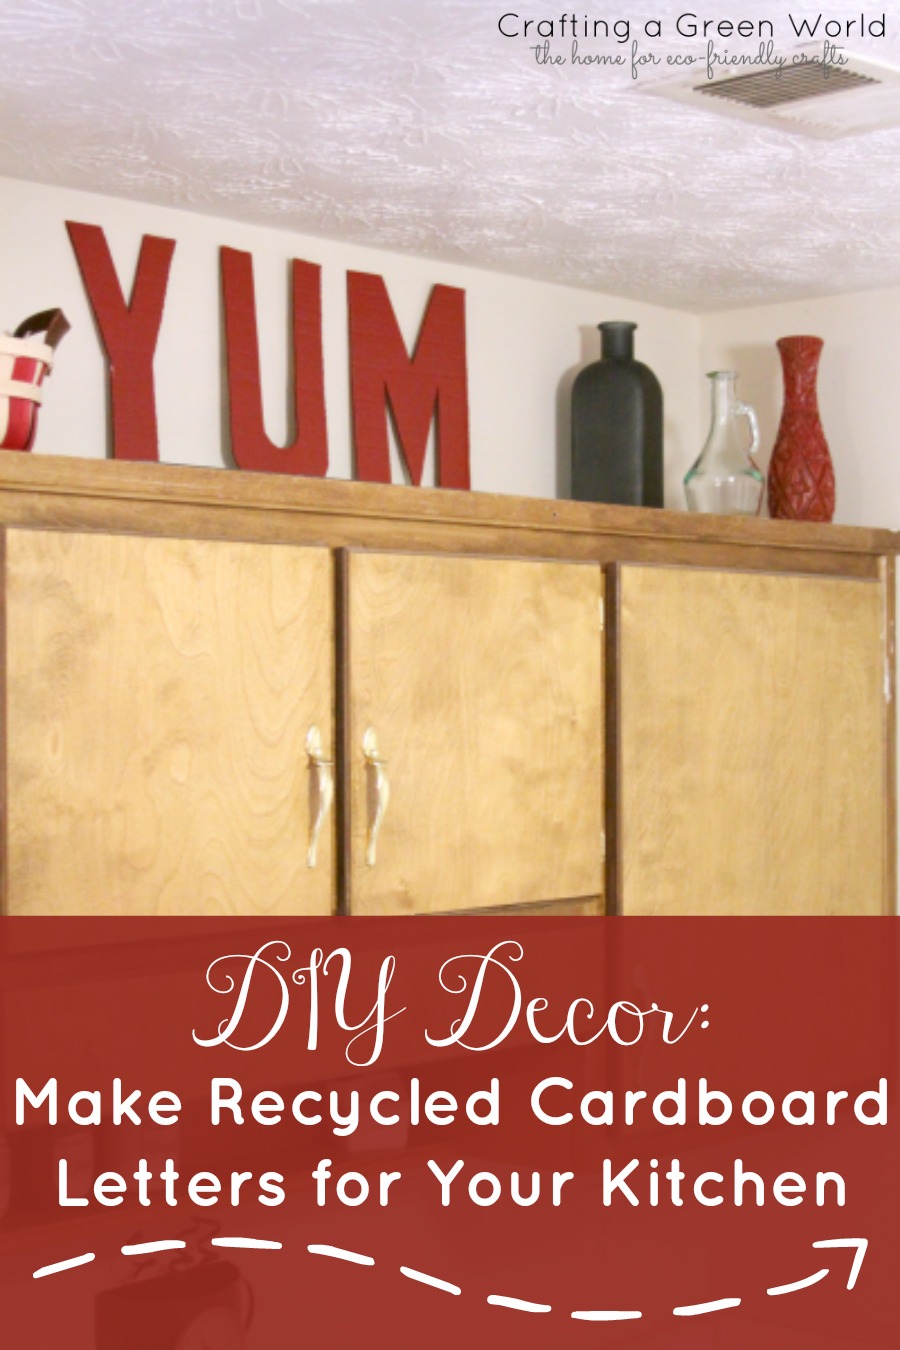
I love the texture of the cardboard letters and the brightness of the red paint, don’t you? Operation distract-from-the-really-ugly-kitchen is in full swing, and I’m loving it!
Do you have any other tips for me and my ugly rental kitchen? If so, leave your advice in the comment section below!#