What You Will Need:
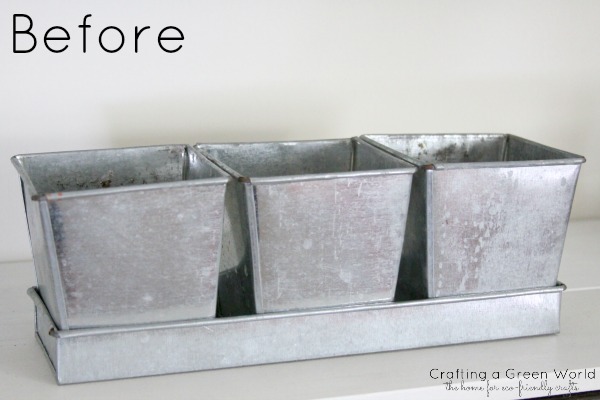
A planter of some sort. This is what mine looked like before:
Low VOC spray paint
An all purpose cleaner
A rag
How To Do It:
- Your planter was mostly likely used as a planter (duh, right?), so it’s important to clean it before painting. Use a handmade all purpose cleaner and a rag to get it spic and span! Then, let it dry.
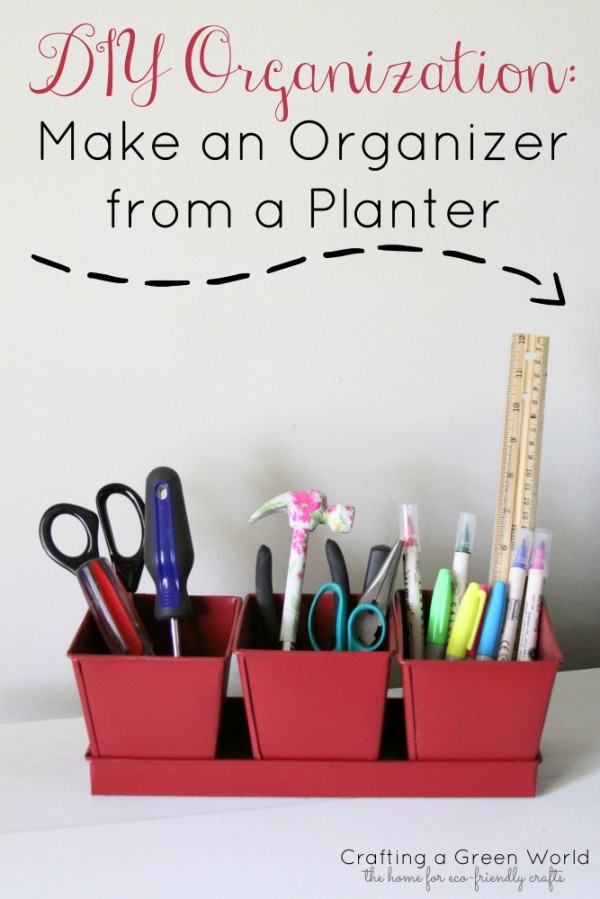
- Spray paint your planter(s). Make sure you spray multiple light coats for the best finish. One heavy coat will take forever to dry and will give you drips. Once you’re finished painting, let your planters dry. I would recommend letting the paint cure for at least 24 hours before putting anything inside the planters. Otherwise, your paint might peel or chip. Now you can organize multiple items in your planters! You can organize your craft supplies, your DIY jewelry, hair accessories, or office supplies. You could also use chalkboard paint to create adorable labels on the front of each planter!
What would you store in your DIY organizer? Share your ideas with us in the comment section below!
Looking for more DIY organization ideas? Check these out:
Organize with Recycled Containers How to Organize Your Closet, DIY Style 5 Eco-Friendly Organizing Projects DIY Beauty: 25 Storage Ideas to Get You Organized