Supplies
Ribbon Glue gun Plastic hangers
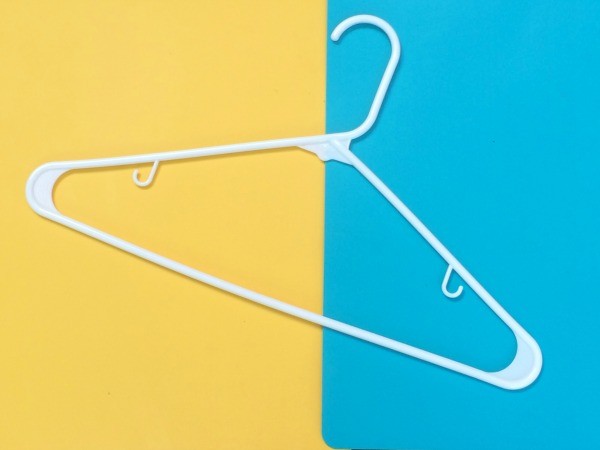
Plastic vs. Wire Hangers Let’s talk for a hot minute about the types of hangers you should use for this project. You’re probably thinking we should be using wire hangers. Well, I’ve been thinking a lot about upcycling, recycling and all that those terms mean. I decided against wire hangers because those are easily recycled. Just take those hangers to your dry cleaner and they’ll happily use them over and over again. They’re lifecycle is endless! If I spread glue and fabric all over them, they’ll likely end up in the trash somewhere down the road. Let’s not do that.
I’ve opted to use plastic hangers for three reasons.
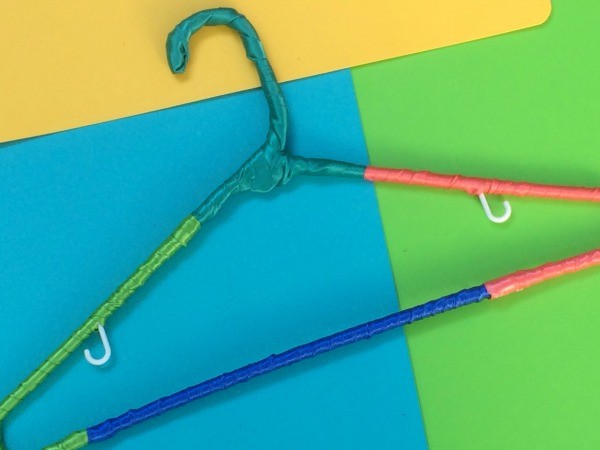
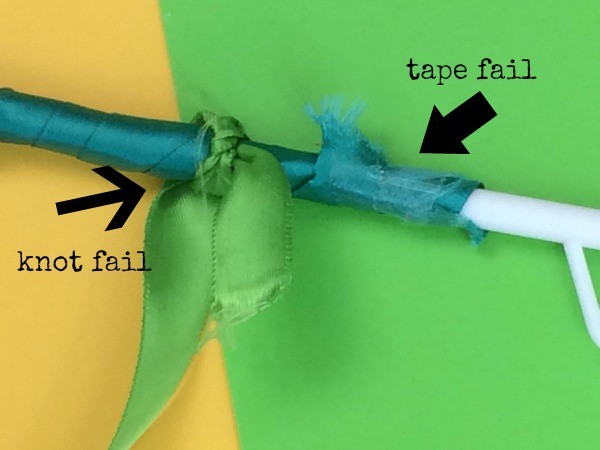
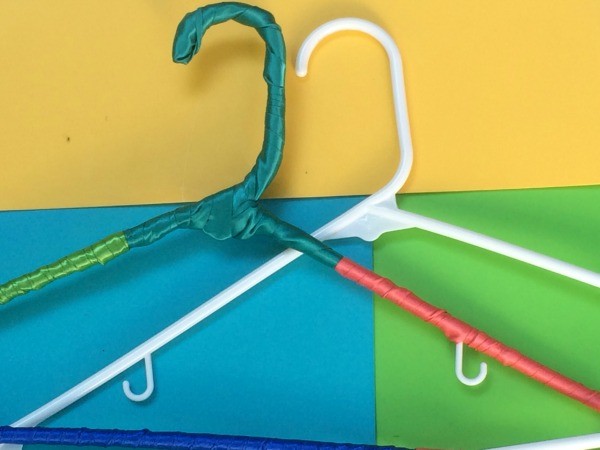
Directions A Lil Dab’ll Do Ya When you come to the end of your ribbon, secure it with a small dot of hot glue. I like using hot glue because it doesn’t ruin the plastic hanger. The glue actually peels right off of the hanger. So in the future, you can easily remove the ribbon, pull off the glue…and your hanger is ready for more fabric or it can be used plain. When you start a new strand of ribbon, it’s best to use a little dab of glue to secure the ribbon in place. I tried using tape and I tried knotting the ribbon. BOTH FAILED! The tape didn’t secure everything tightly enough. And the knot was too lumpy and bumpy. Trust me, the hot glue works great. Once your hanger is completely covered in ribbon, secure the last little bit in place with more hot glue.
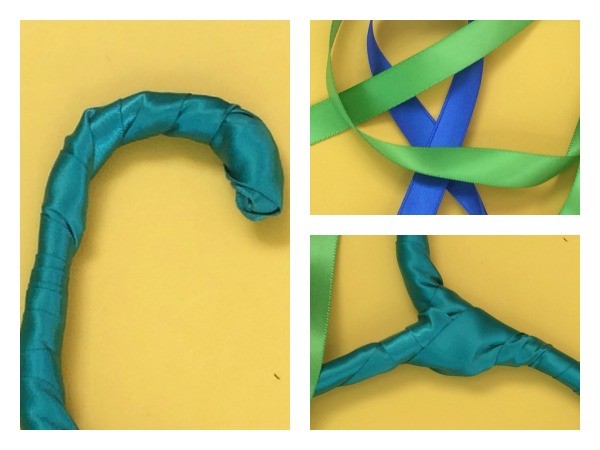
Where do I get ribbons? I fully admit that I stock up on ribbons when the craft store has a bargain bin sale. However, the best ribbons to use are the ones that come off of those fancy boxes of chocolates or off of presents from nice department stores. They’re kinda silky and look really nice once they’re attached to your hanger. Make lots and lots of these hangers and give them to your Mom for Mother’s Day or use them to sparkle-up your own closet. Happy crafting!