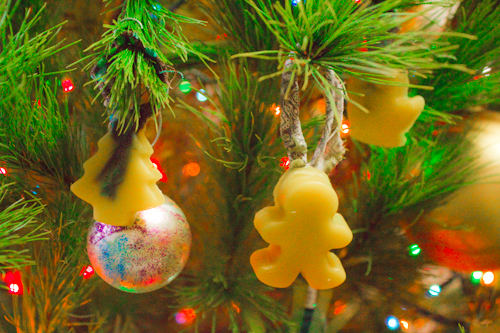
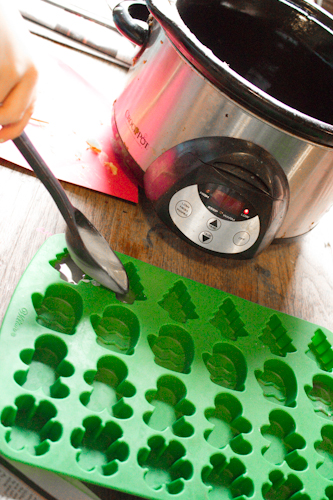
Our handmade holiday is fast approaching! As I’ve mentioned before, I try very hard to craft all of our presents to extended family and friends. The gifts need to be relatively quick and easy to make, things that will be genuinely appreciated, and constructed entirely from stash. Beeswax ornaments are quite quick and simple to make. They’ll be loved by anyone who has a tree (or a sunny window!) to decorate, and you’ll love that they only require just a bit of beeswax and a narrow scrap of fabric for each ornament. While you’re melting your beeswax in a crock pot or double boiler, grab any fabric purchases that you’ve made recently. You know how to true the fabric to the grain by clipping into it near one edge, then ripping it all the way down the edge to find the on-grain straight edge? Do that. The narrow strips of fabric that you’ve ripped away will be the ornament hangers for your beeswax ornaments. Cut them into strips and they’re ready to go. Next »
While you can use any small molds–candy molds, ice cube trays, etc.–for your beeswax ornaments, flexible silicon molds work the best because you can remove the finished ornament so easily. If you are using another type of mold, however, just make a mental note to freeze the finished ornaments in their mold for a few minutes, which will contract the beeswax and make for an easy time unmolding them. When your beeswax is melted, pour just enough beeswax into each mold to cover the bottom. You’ll add a second layer of beeswax in a minute, but you don’t want your ornament to be very thick, or you’ll lose the lovely translucent glow of the beeswax. Next » While the bottom layer of beeswax is still liquid, use a chopstick or skewer to poke the ends of a fabric strip into the top of the beeswax to form a loop for hanging. I enjoy this part, because I think that it’s lovely to have the fabric show through the thin beeswax at the end. As soon as the fabric loop is placed, pour another layer of beeswax over the top of it. This layer should be thin, as well, so simply make sure that the fabric ends are well covered. If your fabric loop doesn’t allow the beeswax ornament to hang as nicely as you’d like, you can adjust it a bit even after the ornament is unmolded. Just peel the fabric gently away if it’s stuck to the top of the ornament, or, if you totally hate it, break the fabric out of the ornament and toss the beeswax back in the pot for another go. Next » Because my five-year-old and seven-year-old can make these beeswax ornaments completely independently (if I rip the fabric into strips for them), we often use them as their handmade gifts to the adults in their lives. One ornament with a nice note makes a good gift for a teacher or coach, one or two ornaments makes a good gift for those parents at whose houses the kids spend many playdates, and a set of four or six ornaments makes a good gift for aunts and uncles and adult cousins. Don’t forget to remind the recipients to take a sniff of their new ornaments–they’ll love them even more when they realize that they smell like honey!