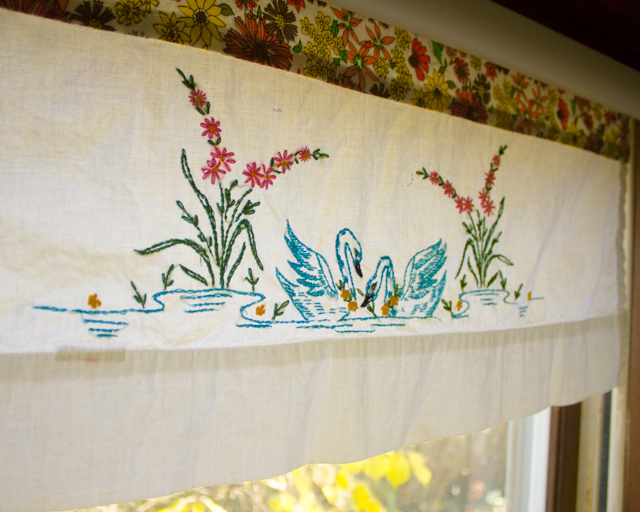
How many ways can the bottom of a window roller shade end up in tatters? Let’s see…two kids yanking on it, two cats batting at it, that time that my older daughter thought she could use it to help her climb out the window, Rapunzel-style. That’ll do it, all right. Fortunately, a roller shade is easy to repair. Replacing the torn section with fabric won’t hinder the shade’s performance, and considering how roller shades are about the cheapest and most crappy-looking window covering available, anyway, the repair will actually vastly improve the overall look of the entire window treatment. Here’s how to repair a torn roller shade with fabric that you already own, making it look even better than it did when you first bought it:
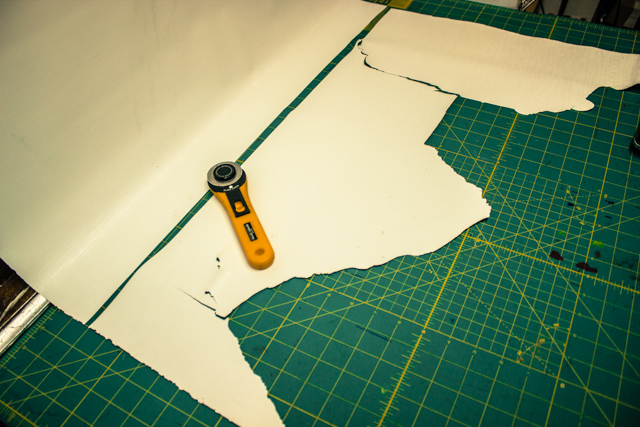
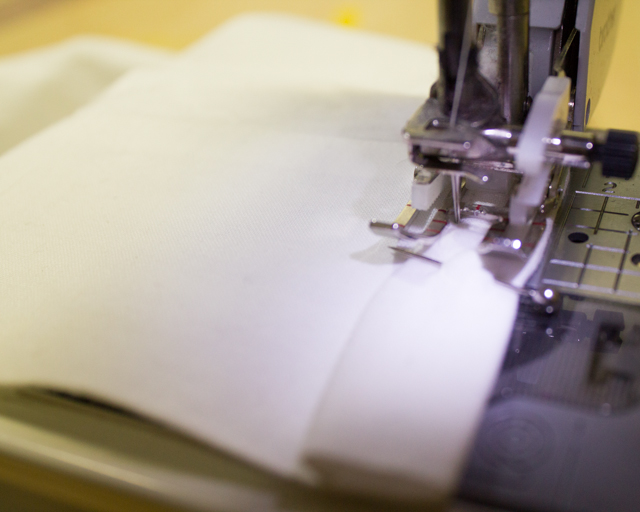
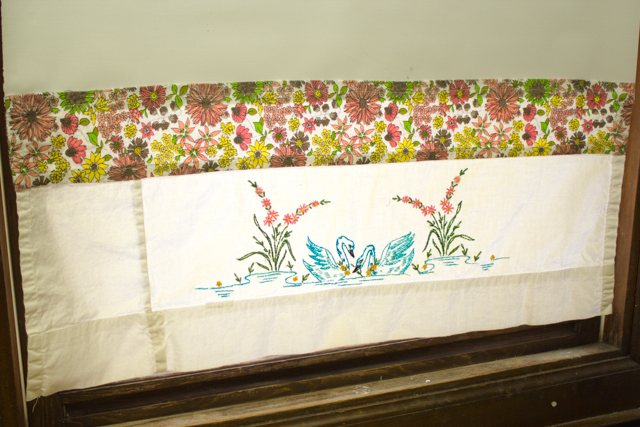
To begin, cut off the torn section of the roller shade, using a straight edge and a gridded cutting mat to keep the cut perfectly level. You can easily remove the shade from the window to do this, but since this torn roller shade abuts my work table, I simply pulled it down and worked with it while it stayed mounted. Measure the width of the shade; this measurement, plus the seam allowance to create a double-fold hem on each side, will be the width of fabric that you need to cut for your repair. For the length of fabric, use the length of the shade that you cut off, again plus the seam allowance to create a double-fold hem on each end. Of course, if you’d like to fancy the roller shade up even more, you can piece together two or more fabrics to reach this measurement; for instance, I used both a floral fabric from my stash and a vintage hand-embroidered thrifted pillowcase as my repair fabrics. Just remember to include enough seam allowance to sew enclosed seams in each measurement. Next » Sew and hem the repair fabric, remembering to enclose all seams. Measure the fabric against the roller shade before you sew the second hem along the fabric’s width, just to make perfectly sure that the repair fabric’s width will exactly match that of the roller shade. While it is technically possible to sew the fabric directly to the roller shade, I didn’t want to stress my apparently brittle and easily torn shade, so I chose to hot glue the fabric to the bottom edge of the shade. If you use a high-temperature glue gun, you’ll have a little more time to work with the glue before it solidifies, although you’ll need to be careful, because the glue at that temperature is hot enough to burn your skin and leave a scar (of which I have TWO!). Next » When the hot glue has solidified, the roller shade can be used as normal. I think that it looks MUCH prettier after the repair, but here are some embellishments that would also look nice:
covering the entire front of the roller shade with fabric adding a beaded curtain effect to the bottom of the roller shade creating a custom pull chain (to keep naughty kids’ hands off the roller shade entirely!) sewing curtains from an upcycled flat sheet to match the shade (Curtains save energy!)
And, of course, now that it’s mended, kids’ hands and cats’ claws are strictly forbidden from touching my nice, new roller shade ever again. I can totally enforce a rule like that, right? …um, right?