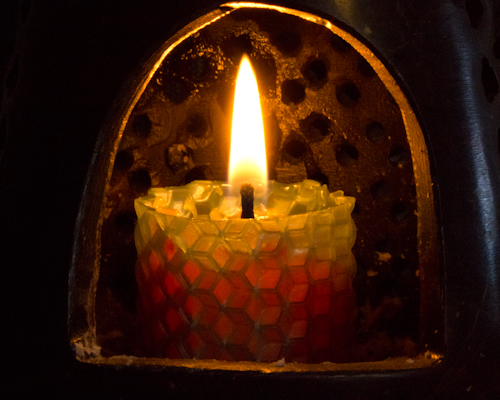
In the mornings, I MUST waft the scent of peppermint and rosemary essential oils through the air, lest I never escape the desire to just go back to bed, and so I’ve gotten into the habit of making my own rolled beeswax tealight candles. They’re quick and easy to make, inexpensive, and you can do them in any colors that you fancy. Read on to see how it’s done: Unless you’re a bigger DIY rock star than I am, you’ll need to first purchase beeswax sheets to roll. I’ve been unable to source beeswax sheets locally, so I purchase mine online (check out my beginner’s rolled beeswax candle tutorial for sourcing information). I’ve also had good luck finding beeswax sheets at garage sales, so a query through Craigslist or Freecycle wouldn’t be a bad idea. One full-sized 8″x16″ beeswax sheet will make eight tealights, but if you have a variety of colors, you can mix and match, even within a single tealight. Cut a piece of beeswax that measures 1″x16″. To make a multi-colored tealight, play with that second number as you cut–two 1″x8″ pieces, for instance, or four 1″x4″ pieces (which is what I’m using for these particular candles). Cut a length of cotton candle wicking (this is easier to find anywhere that sells candlemaking supplies) to about 1.25″–cotton wicks have a top and a bottom, so don’t mix them up! Press the wicking into the beeswax at one short end, lining the bottom of the wick up with one side of the piece (this will be the bottom of the candle), and letting the top of the wick stick out from the other side. Next » Smoothly roll the beeswax up around the wick, pressing just enough to make sure that the beeswax has good contact with the wick and then with itself, but not too firmly–you can mash it if you’re rough, or at least mess up the nice honeycomb pattern. Next » Now let’s do some tricky stuff! To change colors, make sure you’ve got two, or three, or even four lengths of beeswax, which together add up to 16″. When you come to the end of one length, press the end down just enough for it to make good contact with the beeswax below it, then start your new length right there, taking care to butt the pieces together so that you don’t leave a gap. Then, continue rolling. Next » Rolled beeswax candles are finished by pressing the end of the last sheet into the candle. The warmth of your fingers softens the beeswax slightly and makes it slightly tacky, so that a little pressure will stick it down nicely and make it stay stuck. Trim the wick if needed, flatten the bottom if needed by pressing it down on a tabletop, then pop it into your essential oil warmer and light it up–peppermint and rosemary, mmmmm!