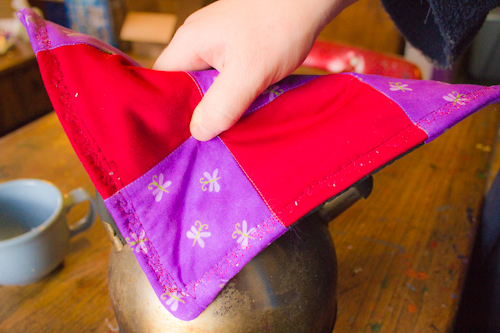
Potholders, while not as simple to make as my beeswax ornaments, are still quick to sew up, are appropriate gifts for almost everyone, including the dude at college who heats up the occasional pot of Ramen and the little kid who loves to bake cookies with her mom, and, best of all, they make good use of the decade-old ratty bath towels that I’ve been dying to replace for, oh, eight years or so? Have any ratty bath towels or blankets or other thick fabric to upcycle? Have some stash cotton to rescue from your scraps basket? Read on to find out how to turn that stash into potholders! These are nine-patch potholders, which consist of a checkerboard pattern made of nine squares–five of one color/pattern, and four of a different color/pattern. Your squares can be any uniform size–multiply the length of the side of one square times 3 (the number of squares in a row) and subtract 1.5 from that number (to account for the quarter-inch seam allowance on each side of the squares) to calculate the finished length of all four sides of your potholder. For instance, these potholders that I’m sewing (under the close supervision of my cat) have a nine-patch pattern in which each piece is 4.5″ square. I multiply that by 3 to get 13.5″, and subtract 1.5 from that for seam allowances, to calculate that my potholders will measure 12″ square when finished. This is a bit oversized for a potholder for an adult (and certainly too big for a potholder for a child), but will also allow the potholder to serve as a trivet on the table, since we often serve our dinners straight from the oven to the table. Don’t you love how making something by hand lets you have it exactly the way that you want it? I do! Next » Piece the potholders by first sewing together each of the three squares in each row, then sewing the rows together, taking care to match the seams so that the corners of the nine-patch all line up. If they’re a little crooked, however, don’t fret–crooked is charming. Flip each finished nine-patch over and iron the wrong side so that all the seams lay flat. You’re supposed to iron each seam right after you sew it, I know…but seriously? No. Next » Lay out your old, ratty, clean towel. The towel can even harbor the mysterious stain or two, because it will never again see the light of day. Lay the pieced nine-patch on the towel, right side up, smooth it flat, and pin it to the towel with pins in the middle of each square. Using a straight-edge and a rotary cutter, cut the towel to be even with the nine-patch. If your sewing got a little off kilter as you pieced, you can also use this step to trim off any uneven edges–no one will notice, I promise. Next » Quilt each nine-patch to the towel backing it with the stitch-in-the-ditch method: sew down all the long seams, following the seam lines that you made when you pieced them. At this point, I’m going to cheat: if you’ve never sewn anything that needs to be sewn wrong sides together and turned right-side-out through an unsewn opening that is then top-stitched closed, please turn to my stenciled bean bags tutorial, in which I show you step-by-step how to do exactly that. The only difference is that with a potholder as opposed to a bean bag, you lose the fuss of trying to keep those dried beans in as you sew, but gain the fuss of sewing through fabric that is thick, thick, THICK! Clip your corners well, trim your seams close to the stitching, use a heavy-duty sharp needle and a relatively long stitch, and sew slowly, and soon you’ll have the Tardis blue and Captain Picard’s uniform red nine-patch potholders that you’ve long been dreaming of.