What You Will Need:
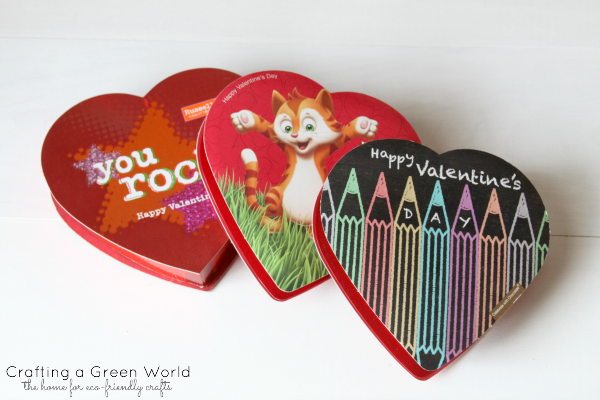
Old candy boxes
Chalkboard paint
Primer (optional)
How To Do It:
Take apart your candy boxes. You should probably also wipe them down in case you have any candy residue left inside.
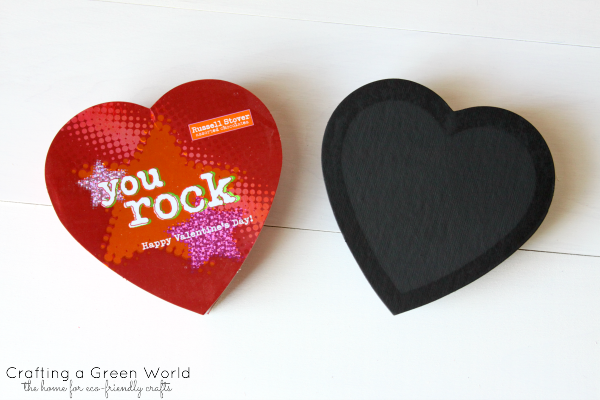
I would recommend priming the outside of the candy boxes first. I did not do this step, and found that the writing/designs on the boxes kept bleeding through. I had to do a lot of coats of chalkboard paint (therefore wasting my beloved craft supply). So, prime first, if you can!
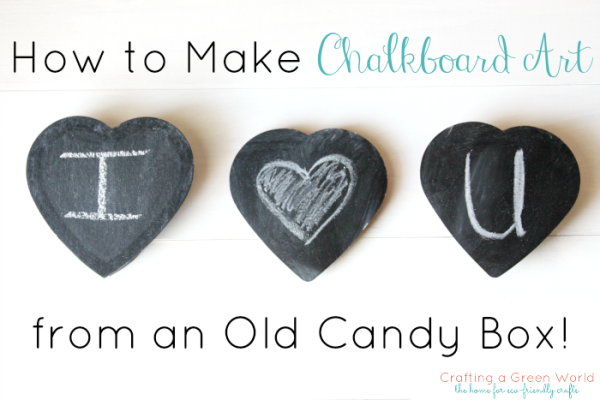
Chalkboard paint your candy boxes!
Follow the directions on your chalkboard paint as far as how many coats to do and the cure time. Most chalkboard paints require a 24 hour cure time, so make sure you keep that in mind. They also recommend that you completely cover the surface with chalk once it is cured and then you can write on it. Now you can hang them up on the wall in a collage, put one on your mantle, or use them to leave your spouse little love notes around your home. There are so many possibilities!
What would you do with your chalkboard art? Leave your ideas below!
Looking for more projects using chalkboard paint? Check these out:
DIY Wedding: 55 Chalkboard Ideas for Your Wedding Five Ways to Upcycle Old Stuff with Chalkboard Paint DIY Lighting: Revamp a Boring Light Fixture with Chalkboard Paint Upcycle a Piece of Art into a Chalkboard