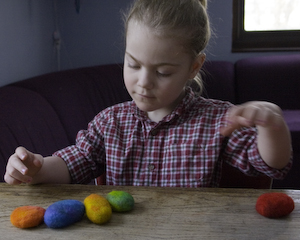
Ahem. My point, now that I’ve gotten around to it, is that I actually do craft with new wool, but I need to know where that wool has come from so that I can assure myself that the sheep were humanely raised as the happy, frolicsome beasts they’re meant to be (I assume–never having raised sheep myself, they could be fierce and blood-thirsty predators, for all I really know). And one of the awesomest kinds of wool to craft with, especially if you’re not a spinner or a knitter, is wool roving (just don’t use superwash!). You can felt wet-felt wool roving to make your own felt, or you can welt-felt it around a form. A good project for a newbie is this one, in which we’re going to wet-felt some roving around a river rock. It will be hefty but soft, good for anything from a paperweight to a plaything: You will need: a river rock or two, maybe around the size of your palm or a little smaller; wool roving (ideally roving that is certified organic or bought from an independent crafter who can assure you of its humane origin); hot water; dish soap
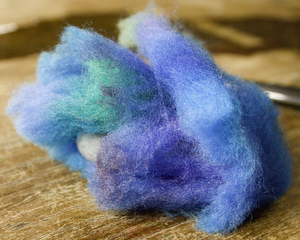
- Roll up your rock, one thin layer at a time, in several layers of wool roving. You want to keep the individual layers very thin so that they will all felt to each other neatly, and you’ll want the strands of the wool to run in a different direction with each thin layer you apply, also to help the wool felt neatly and evenly.
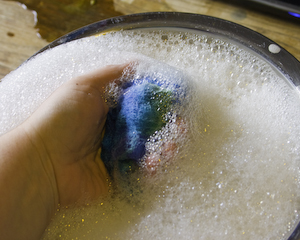
- Wet-felting requires heat, agitation, and a little soap, so now you need a dishpan or a sink full of hot, soapy water. The water can be less hot if you’re working with children, but it will take longer. Change your water as often as you need to keep it as hot as you’re comfortable working with.
- Dunk your roving-covered rock carefully in the water to get the wool saturated. Some people choose to wrap their roving with pantyhose or tie it with thread to keep all the wool in place over the rock, but if you start out carefully, mostly just squeezing the roving-covered rock in your hands and rolling it around slowly between your hands, checking often to make sure you aren’t uncovering any spots of bare rock, the roving will gradually set enough that you can start to work with it much more roughly. 4. Agitation is very important for felting the wool, so once the roving has settled around the rock pretty well, you can begin to briskly roll the rock around in your hands, roughly rub it, and generally just futz it about for a while. Some people even rub their felting on cheese graters or washboards to get it really hard. If you accidentally uncover any bare spots on your rock, pull together the roving to cover it up, pinch and twist it together, and felt it closed before you continue.
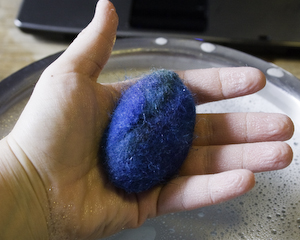
- When you’re happy with the firmness and felting of your felted wool rock, rinse the soap out of it, squeeze it dry as well as you can, and let it sit and air dry, probably for several days. My girlies love themselves some felted rocks, but I like to work primarily with recycled materials, so the truly fun stuff comes when you start felting…stuff. Especially with spring approaching, old plastic Easter eggs felt well, and next time I’ll show you some other cool random stuff that held still long enough for me to felt it.