What You Will Need:
- An old shutter. I found mine at a garage sale for a few dollars! You should be able to find one at thrift stores or antique stores as well.
- Eco-friendly paint. You will want to use several different colors — we used black, blue, pink, red, yellow, and white.
- Several sizes of small paint brushes
How To Do It:
This is the step where I admit that my talented Mom did most of the work because she is artistically inclined. However, I paid attention and took notes, and I truly believe anyone could recreate this piece.
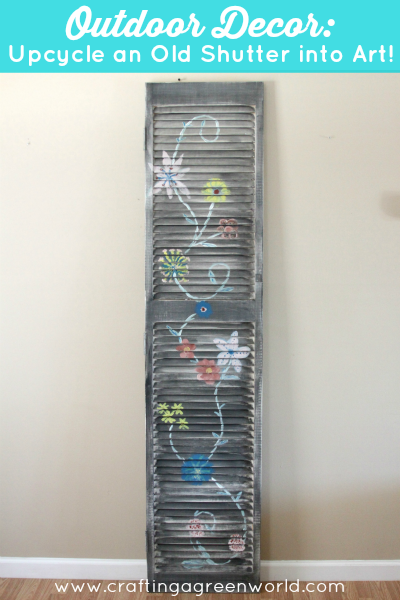
The shutter was originally white, so we gave it a quick coat of black paint. As you can tell from the pictures, it’s a dry brushed look that is imperfectly perfect. It gives the shutter a worn and weathered look that’s great for the outdoors!
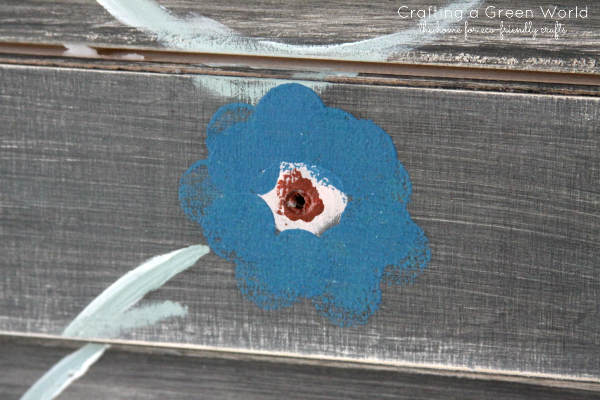
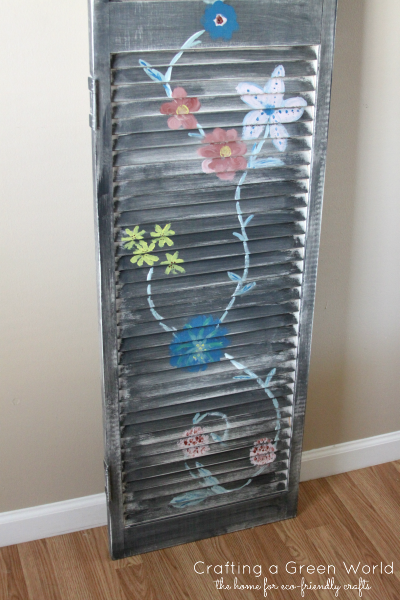
Once the black paint was completely dry, my Mom went crazy painting the flowers. I loved how she worked with the shutter’s flaws. For example, she turned the hole in the middle of the shutter (where the knob used to be) into the middle of a flower.
After painting all of the flowers, she connected them with the vine. Isn’t it pretty?
(Optional) If you want to give your shutter a little more protection from the outdoors, I would recommend giving it a quick coat of Polycrylic. It isn’t the greenest craft supply, but it will protect your shutter in the long run. Unfortunately, everything outside of my house is still brown, so I had to take pictures of the shutter indoors! I can imagine this cutie against a wall, fence, or tree in my backyard. You could even put it next to one of the awesome herb spiral planters that Becky shared on Wednesday, or against a rad wall with all natural graffiti made from moss.
Where would you put your shutter? Share your ideas with us in the comment section below!