What You Will Need:
- Canning jar lids. Sometimes you can find them at thrift stores or garage sales!
- An embroidery hoop
- Twine. If you can, use hemp twine — it’s more eco-friendly!
- Scissors
- Low VOC spray paint
- A hammer and nail
How To Do It:
Clean your canning jar lids.
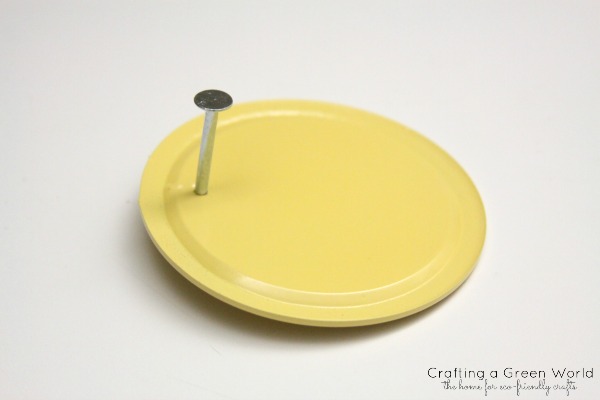
Punch a hole in each of the lids with a hammer and nail. You can also use a drill if you’d like.
Spray paint all of the lids. Make sure you paint the front and the back. As you can see in the picture above, I painted my lids and then punched a hole in each one. I don’t recommend doing it that way because the hammer/nail can mess up your paint job.
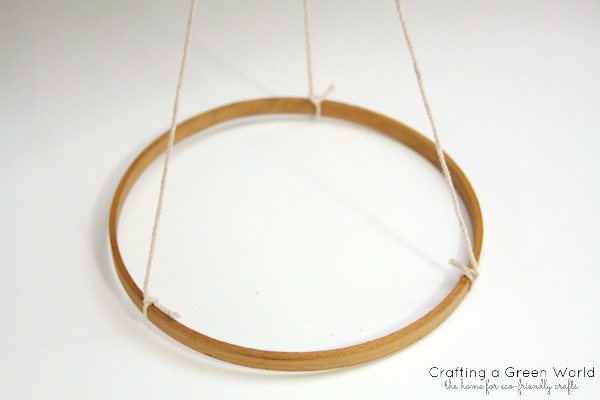
In order to hang the embroidery hoop, I cut three pieces of twine and attached them to my hoop like so:
Grab all three pieces of the twine and bring them to the middle of the hoop. Then, make a knot.
Once the lids have dried, it’s time to attach the lids to your embroidery hoop. I cut my twine at varying lengths. Then, I put each piece of twine through the holes of each lid and made a knot.
Attach all of the lids to the embroidery hoop. I simply knotted each one to the hoop, but you could hot glue them as well.
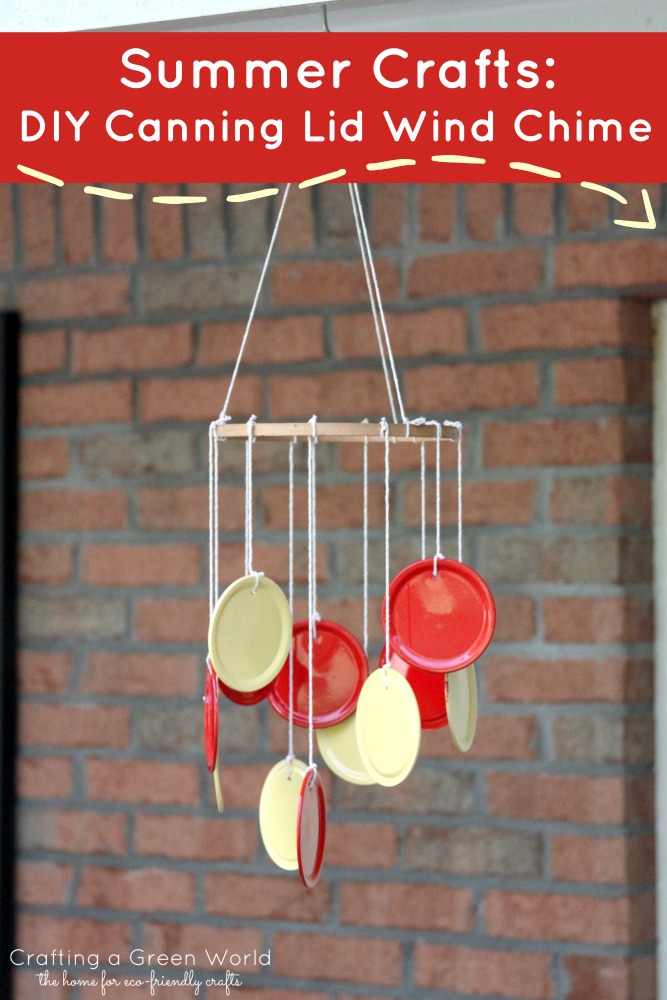
Now you have a totally adorable and colorful canning lid wind chime! Isn’t it awesome?