I don’t know about your kids (or you!), but my kids want to dye Easter eggs every day. Seriously, everyone is required to eat at least two hard-boiled decorated eggs for lunch every day, and we’re still not getting through them as fast as they’re getting made. It’s my opinion, however, that repetition encourages creativity, in that everyone has long since grown tired of simple vinegar + food coloring preparations, and we’ve launched into the wide world of more unusual egg decorating projects. We’ve dyed eggs with silk scarves, blown them out, decorated them with stickers and Sharpies, and added wax to the mix. Tie-dyeing eggs is another simple decorating activity, since the only materials that it requires over and above the dye are some rubber bands and some stash fabric just about ready for the compost heap (Yay, stash-busting!). I’m really fond of the unusual color application that tie-dyeing your eggs results in, however. Yes, they really do look tie-dyed when you’re done. And here’s how to do it:
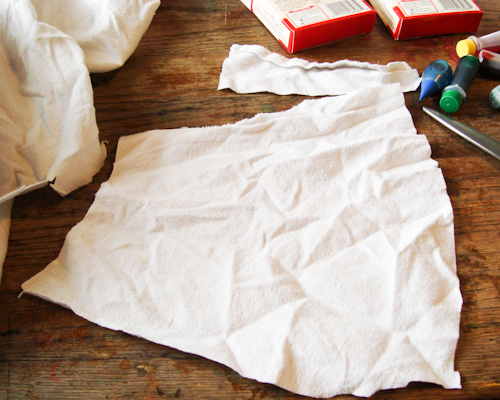
For each egg you want to tie-dye, you’ll need a piece of trashed-out stash fabric large enough to roll the egg up in and tie it off at each end. Any medium-or light-weight natural fabric will suffice for your purposes. I’m using an old flannel bedsheet that I’ve already cut just about every usable part off of–it’s otherwise destined to be shredded with scissors and sent to live in the compost heap.
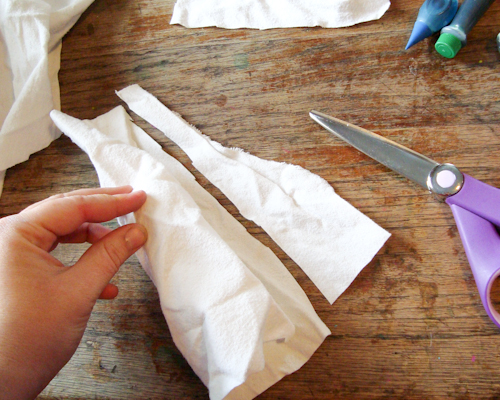
Roll the fabric up tightly around the hard-boiled egg, cutting off the extra that remains after a little overlap.
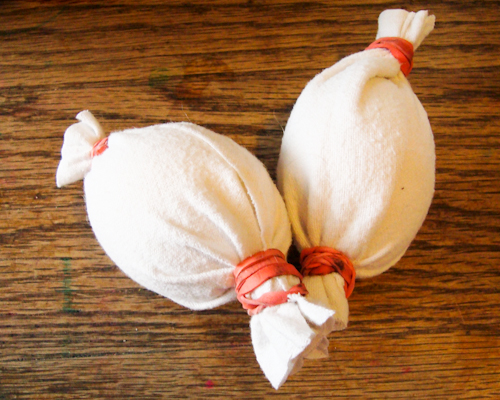
Wrap each open end of the fabric very tightly against the ends of the egg, using a rubber band, stash yarn, or twine. The wrinkles in the fabric are what will make your tie-dye interesting. Of course, you can roll and wrap this fabric in any direction that you’d like.
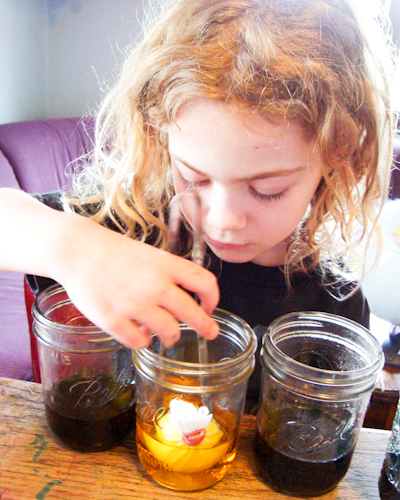
Dip the wrapped egg into your dye solution long enough to completely saturate the fabric. You can dip your egg in a variety of colors and in a variety of ways–think of the methods used to tie-dye fabric and you’ll often be able to figure out a way to mimic it with the eggs.
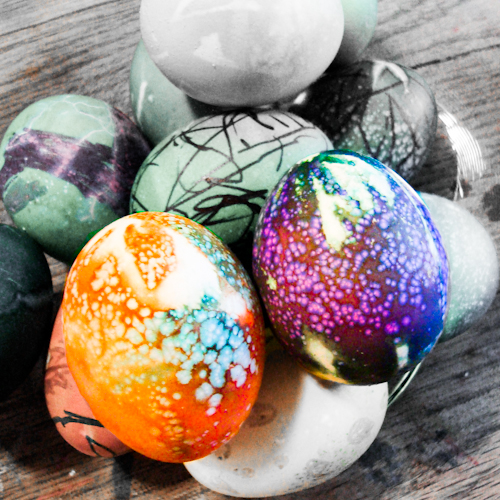
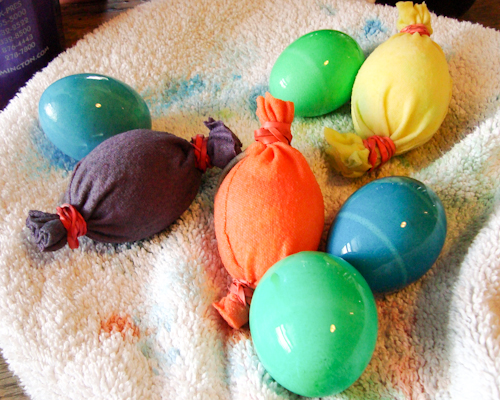
Just as with tie-dyed fabric, you’ll need to allow the eggs to remain in the saturated material for at least 24 hours to allow the dye enough time to transfer. Put the eggs in the refrigerator on a towel-covered platter (don’t confuse the wrapped tie-dyed eggs with the regular dyed ones in this picture–there’s room in an Easter for all sorts of eggs!), and at the end of the 24 hours let them dry at room temperature for absolutely no longer than two hours. I, personally, keep our eggs out of the refrigerator as little as possible until they’re consumed, because I’m not a fan of food poisoning. When you’re finished, you’ll have Easter eggs that are interestingly streaked and mottled, tie-dyed and ready for your hippie egg hunt.