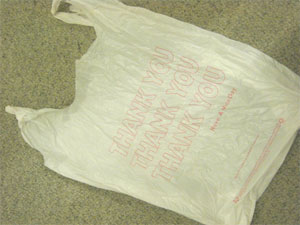
- Gather your bags. I separated mine by color, but why not go crazy and mix and match?
- Start by cutting off the handles and the bottom of the bag. The result will be a nice smooth rectangle, as the bottom gatherings will have been removed.
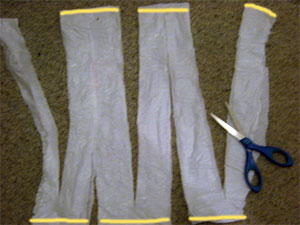
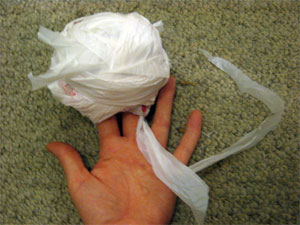
- Cut the bag into long strips of “yarn.” You can do this two different ways. One is to cut the bag in one continuous spiral or the other is to cut the bag in a zig-zag pattern as in the picture. Then cut along the yellow lines to get one long strip of plastic. The spiral method makes a more uniform strip where the zig-zag cut makes the yarn more free-form and lumpy. I like this best because it gives the final project a bit more character. 4) Ball your yarn. I made a center pull ball with my yarn which was no different than with other yarns and the pieces easily tied together with simple square knots.
- Begin knitting! Words of wisdom: This yarn is a bit unpredictable. Casting on it’s a bit stiff and doesn’t stretch and move as easily in the process as real yarn. Be careful not to pull your stitches and make them too big. Once you get going, it is relatively easy to use, though. If you are a tight knitter, you might want to double up on your needles or use a bigger needle for your stitches as the yarn is a bit hard to move on and off the needles. It can be both slippery and un-slippery at the same time. You can also find plarn for sale on Etsy from smallboxdesigns and silverblayze, just to name a few. Use your new plarn with some amazing patterns from My Recycled Bags, a blog that we all love. Try the cute Ribbon Sling Bag or how about a dishcloth? Have other ideas that plarn would be good for? Leave them in the comments!